Webs.com Web Analytics Plugin
⬅️ Back to all plugins
For a webs.com site, the tracking code must be installed manually on each page you want tracked, or (as shown below) you can drop it into the very bottom (footer) of your site and it should automatically get added to every page.
Note that the interface below is the 'new' webs.com. If your interface looks different, you are on the old version of webs.com and can opt-in to Clicky from there. The new version of webs.com does not have this opt-in unfortunately, requiring you to perform the steps below.
First, login to webs.com and click the 'builder' link in the top right corner.
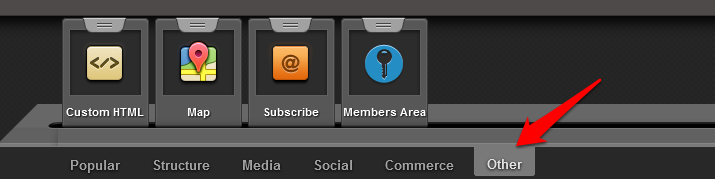
Click the 'other' tab at the very bottom, and you will see a few options. The one we will be using here is 'custom HTML'.
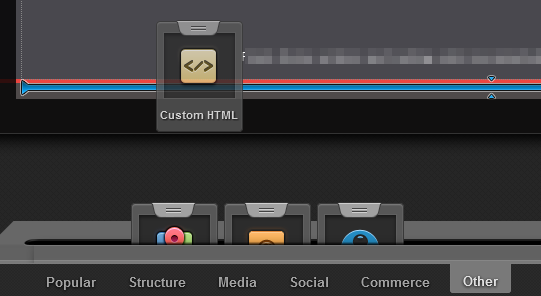
Drag and the drop the 'custom HTML' module into your page. Note in this screenshot, the blue highlighted area is where it will end up when we release the mouse. This is the 'footer' of your site, and if you put this module here, it will be automatically included on every page of your site. If you're unable to place the code in the footer area, you will have to add the code to every page of your site.
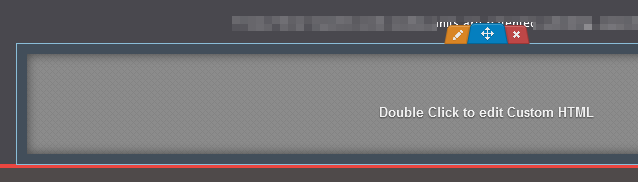
After you have placed the module, double click it to edit.
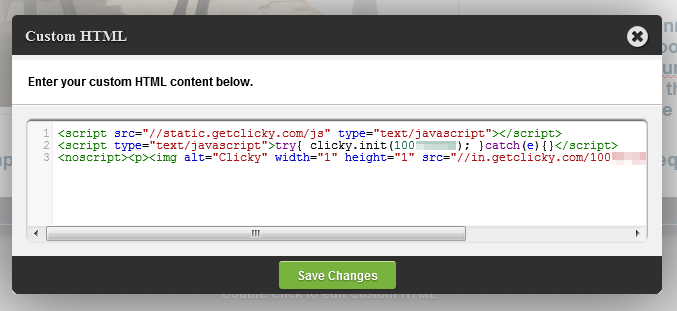
Paste your
tracking code into the box and click the save button.
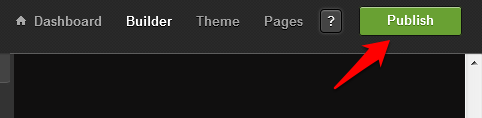
Click the 'pubish' button in the top right corner of the page to save your changes. You're done!
📢 Make better decisions with real-time insights
Sign up for Clicky now and transform your analytics
 0 online
0 visitors
0 actions
0 online
0 visitors
0 actions